Search This Blog

Friday, May 17, 2013

Leaf Casting at Fox Brook

This week my leaf casting demonstration and class was held at a beautiful park complete with a beach in Brookfield. Usually, my class is in a windowless room, but this week there were huge windows facing out towards the water. It was one of our first truly warm days this spring. Everyone showed up anxious to make this project for their garden. We even had a "dad" come with is adult daughter, but he was just visiting since he lives in Minnesota.
Mixed Varieties Cast Leaves

Each student received a board to create the leaf casting on to make it transportable to get the project home. The students select a variety of leaves with the stipulation they must all fit on the board and the student must be able to carry it. Leaves with strong veining are best - rhubarb, burdock, cabbages, hosta, caladium, some begonias, gerbera foliage, etc. If the spring isn't too cold, rhubarb is perfect. We were watching plants closely this year and I even had one red hat group cancel their class because the rhubarb wasn't coming up quickly enough. It did come up just fine.
Caladium, Hosta and Rhubarb leaves


Sand piles to hold the leaves sprayed with oil
On the board, damp play sand is mounded to support the leaf to shape it either flat so it can be displayed on a plate rack or just set in the garden, or rounded to be used to hold water or bird seed. The sand is also pushed under the ripples of the leaf edges to accent the shapes and keep if formed after the concrete is applied. This is the time consuming part of the class.

Once the sand is formed, it is covered with plastic wrap, the leaf is laid over it and sprayed with oil to help in removal from the mold.Then on go your gloves and play in the mix.
A copper end is inserted into the mix so later
 it will fit on a pipe in the garden. 
Mixing Station!

 Portland cement is mixed equally with wash white play sand, an acrylic bonding agent is added and enough water to make it the consistency of brownie mix. Concrete colorant may also be added. The mix is applied thickly over the main center vein- up to 1"+ for a rhubarb leaf measuring 15 - 18 inches - and "massaged" out toward the edges. The mix should stop about 1/4" from the leaf edge.  Additional mix is always added in the middle and "massaged" by using the heels of the hands rather the dabbed with the fingers, toward the uncovered areas. Applying layers of mix and spreading from a central point helps with the adhesion of each layer where done in separate areas may be weak. If a giant leaf is used, hardware cloth or chicken wire can be layered in the mix for strength.


One the project is completed, it should dry for at least 24 hours before un-molding. Larger projects need 48 hours.They need to dry slowly, out of the sun. Once dry, the plant material can be pulled off the concrete. The concrete can then be completely painted, washed with paint to bring out the veining detail, or left alone. It can be sealed so it can hold water as a birdbath, or sprayed with a food safe sealant used for use as a bird feeder. 


Sunday, May 5, 2013

Wisconsin Garden Club Convention


This weekend is the Wisconsin Garden Club Federation Annual Meeting. Its title is “Embracing Native Elegance”. (Garden Clubber’s always have a theme and follow it throughout the convention, show, etc.)  This is the main entry exhibit.
This is the "Elegant" side


This is the "Nature" side


This is an installation year which means a change of officers. This year Madison District is hosting the affair. There are 7 Districts and each one takes a turn at hosting. Some Districts have very few members with just a couple clubs and then there are larger Districts that contain many clubs and members like Madison and Milwaukee.  All do a FANTASTIC job!!!!!  These events take years of preparation, organization, solicitation and volunteer hours.
These are some display arrangements


Friday morning I was “installed” (always think of draperies or a sink as being installed- not a person, ha!) as President of the Wisconsin Judges Council. I also was in charge of the workshop the judges participated in. Claudia Chopp presented our program on a new design style containing armatures. She is a fabulous designer that travels the world participating in and organizing flower shows. She showed us 3 styles of armatures and explained what we should be watching for as we make these as a competitive floral design or judge this style of floral art. These are some of Claudia’s creations:


Armature of Tall myrtle branches
s:
Hanging armature of reed and
vertical armature of gutter guard and wire
Our Judges Council is the largest collection of floral designers in the state organization so we are often asked to do designs to decorate the hotel and do design programs. These are some from around the hotel.
By Dawn

By Carole

By Liz

On the check in table
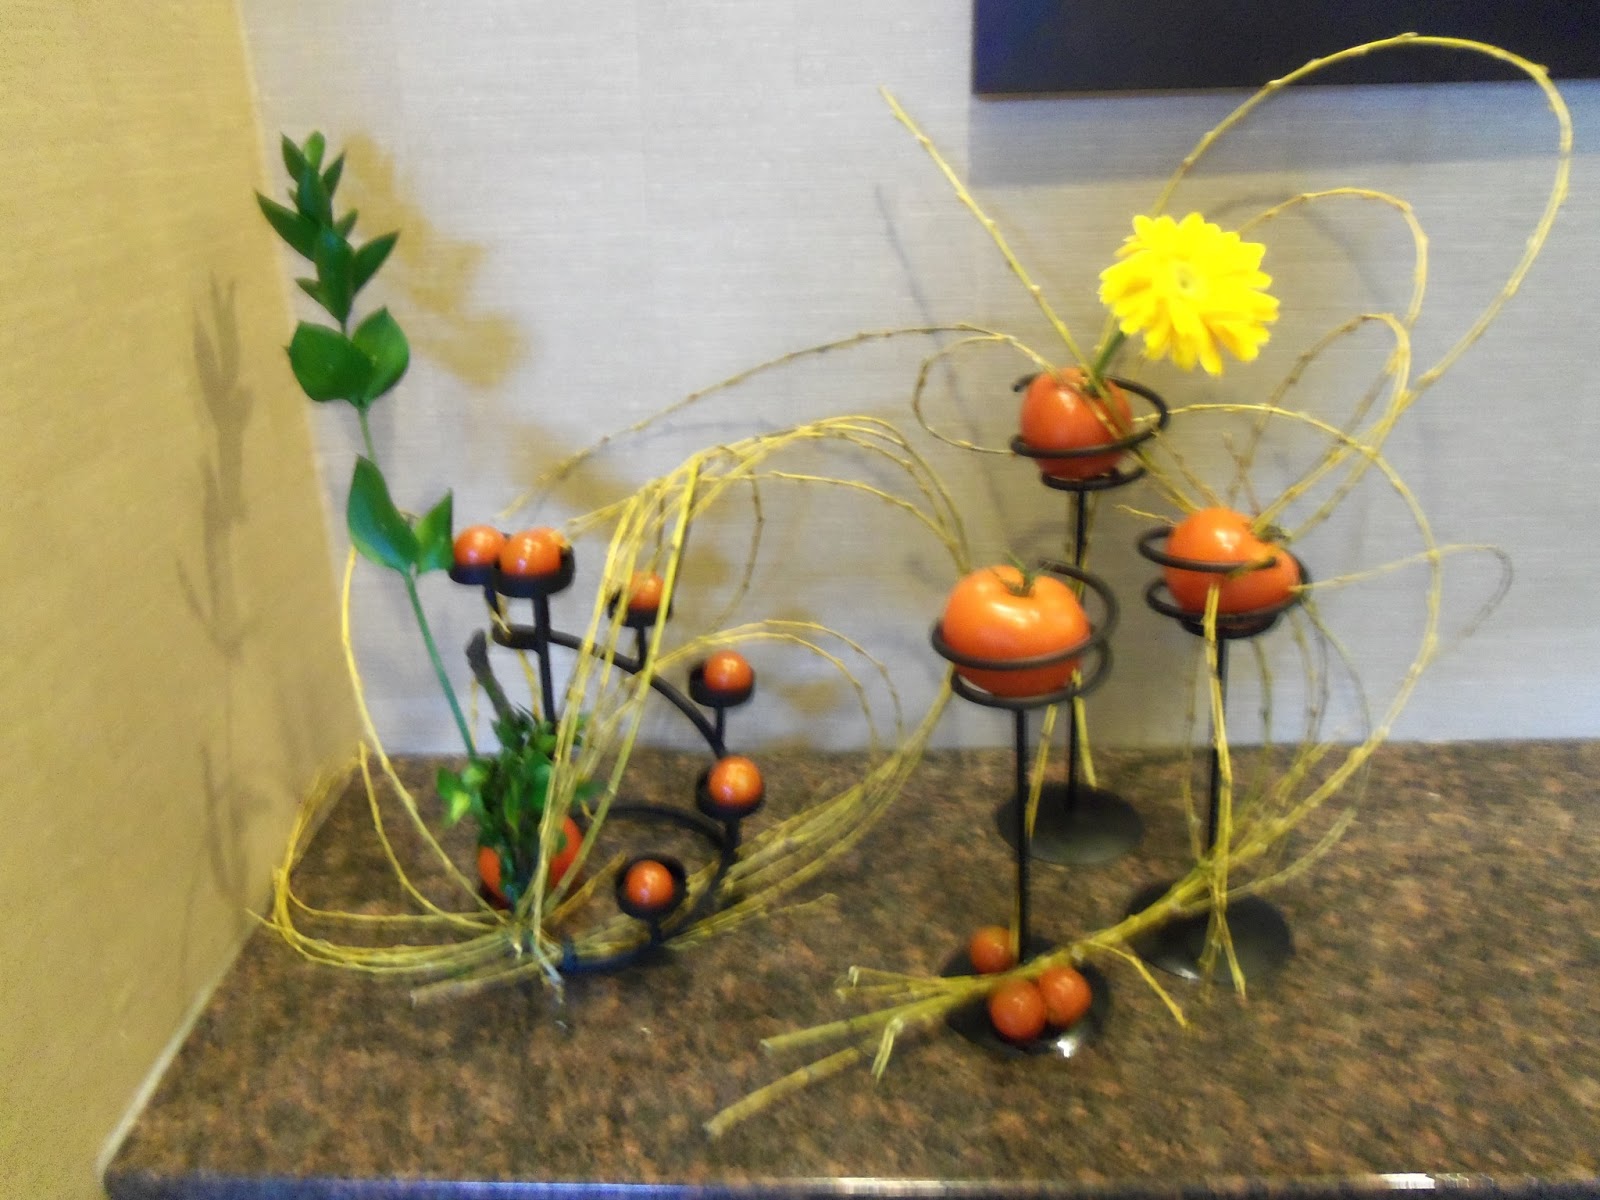
This is one of the centers from Friday evening’s meal function. Tomatoes, asparagus and peppers were the theme. There were 65 tomatoes used overall and each person guessed how many were used and that’s how the designs were given away.


Today is the “BIG” business meeting, tours in the morning, workshops in the afternoon, and the banquet tonight. Sunday is a wrap up day and I am part of the floral design luncheon program. I have planned on doing a spatial thrust. Several of us are doing a design “live” and one of Madison judges will do the commentary. Hope my flowers last till then!
My Spatial thrust - Flowers lasted!
Tubular Design
Creative design
Creative Design
Under water Design
Unique use of "mystery package"!

Because I was unable to connect to the internet while at the convention I am now home completing my entry. At the luncheon each of the six designers were given a "mystery" package of flowers which we were to incorporate into our design. I receive some purple monti casino asters which fir perfectly with my color scheme. Kitty received a pack of multicolored miniature carnations. She was using large scale tropicals - Birds of Paradise and aspidistra leaves - in a handmade  paper free form container./Rather than distort the whole design, she incorporated the entire wrapped package as a design element. That's thinking outside the box!


Wednesday, May 1, 2013

Finally got to get out in the garden....

Wow, tomorrow is May 1. Last year we had many warm days beginning in March, but this year has been cold with lots, and lots of rain. This has truly postponed my gardening.

I appreciated the rain after last years drought. We have a huge pond with wild life in the back of our lot, most of it rimmed with cattails and red-winged blackbirds. The pond is part of at least eight properties. Our next door neighbor dredged out a nice inlet where the Canada  geese roost, coyotes stop for a drink, and the peepers remind us it's springtime. This area went dry last fall. Luckily, with all our spring rain, this pond is again full and so are any depressions in our yard.

The geese just hanging out
So, today, finally with warm weather and sunshine, I collected some of my pre-Mother's Day stash of plants, and have planted a few of my collection of hypertufa containers. One is now planted as a fairy garden with some new and some plants reserected from last year. A couple others are succulent gardens with different colored varieties of hen-and-chicks.
Ready for the Fairies


I got out to "plant" some garden art-lovely, giant flowers made from glass dishware given to me by a friend. Love the way they look against the house. I was careful to place them where the rain run off from the roof and the wind wouldn't damage them. They are wonderful!

I was also able to clean out two of my raised beds which means I am half way to clean! In the first bed I got my edible pod peas planted, along with lettuce and radish seed. There are a few garlic plants that wintered and a hill of miscellaneous tulips. I wintered them there because it got too late in the year to dig in the yard yet the bed was still workable. This bed is still on the damp side but not like the surrounding area that is squishy as you walk through it, ha! Good thing my hubby build me the nice raised beds that are fully fenced.

In the second bed I got in 100 sets of red onions and will fill the rest with Yukon Gold potatoes. I have divided the potatoes keeping several eyes for sprouting. They are currently drying and forming callouses in a box on my dinette table. I am hoping to find time over the next couple days to plant them once they dry.

This little hot spell has my daffodils standing tall, hyacinths smelling great, grape hyacinths popping out in several beds, forsythia looking bright, with tulip flower heads looking hopeful along with magnolia, lilacs and azalea.

Neighbor's star magnolia trees almost full open. Beautiful. Time to take a deep breath of that fragrant "fresh" air and relax on the swing and watch the geese.

Thursday, April 25, 2013

And then ....

Update on Copper feeders....
This week again I had a community ed  class on making copper oriole feeders. This group was very creative and had some new ideas so I wanted to share some pictures of what they did:
Spirals cut from circles -
cut a circle from metal sheeting then make an equal distant cut from the edge forming a spiral.


Leaving the tubing long rather than wrapping it  to make it circular.

Making two feeding stations for cups

Wrapping wire with beads around the tubing for  decoration.
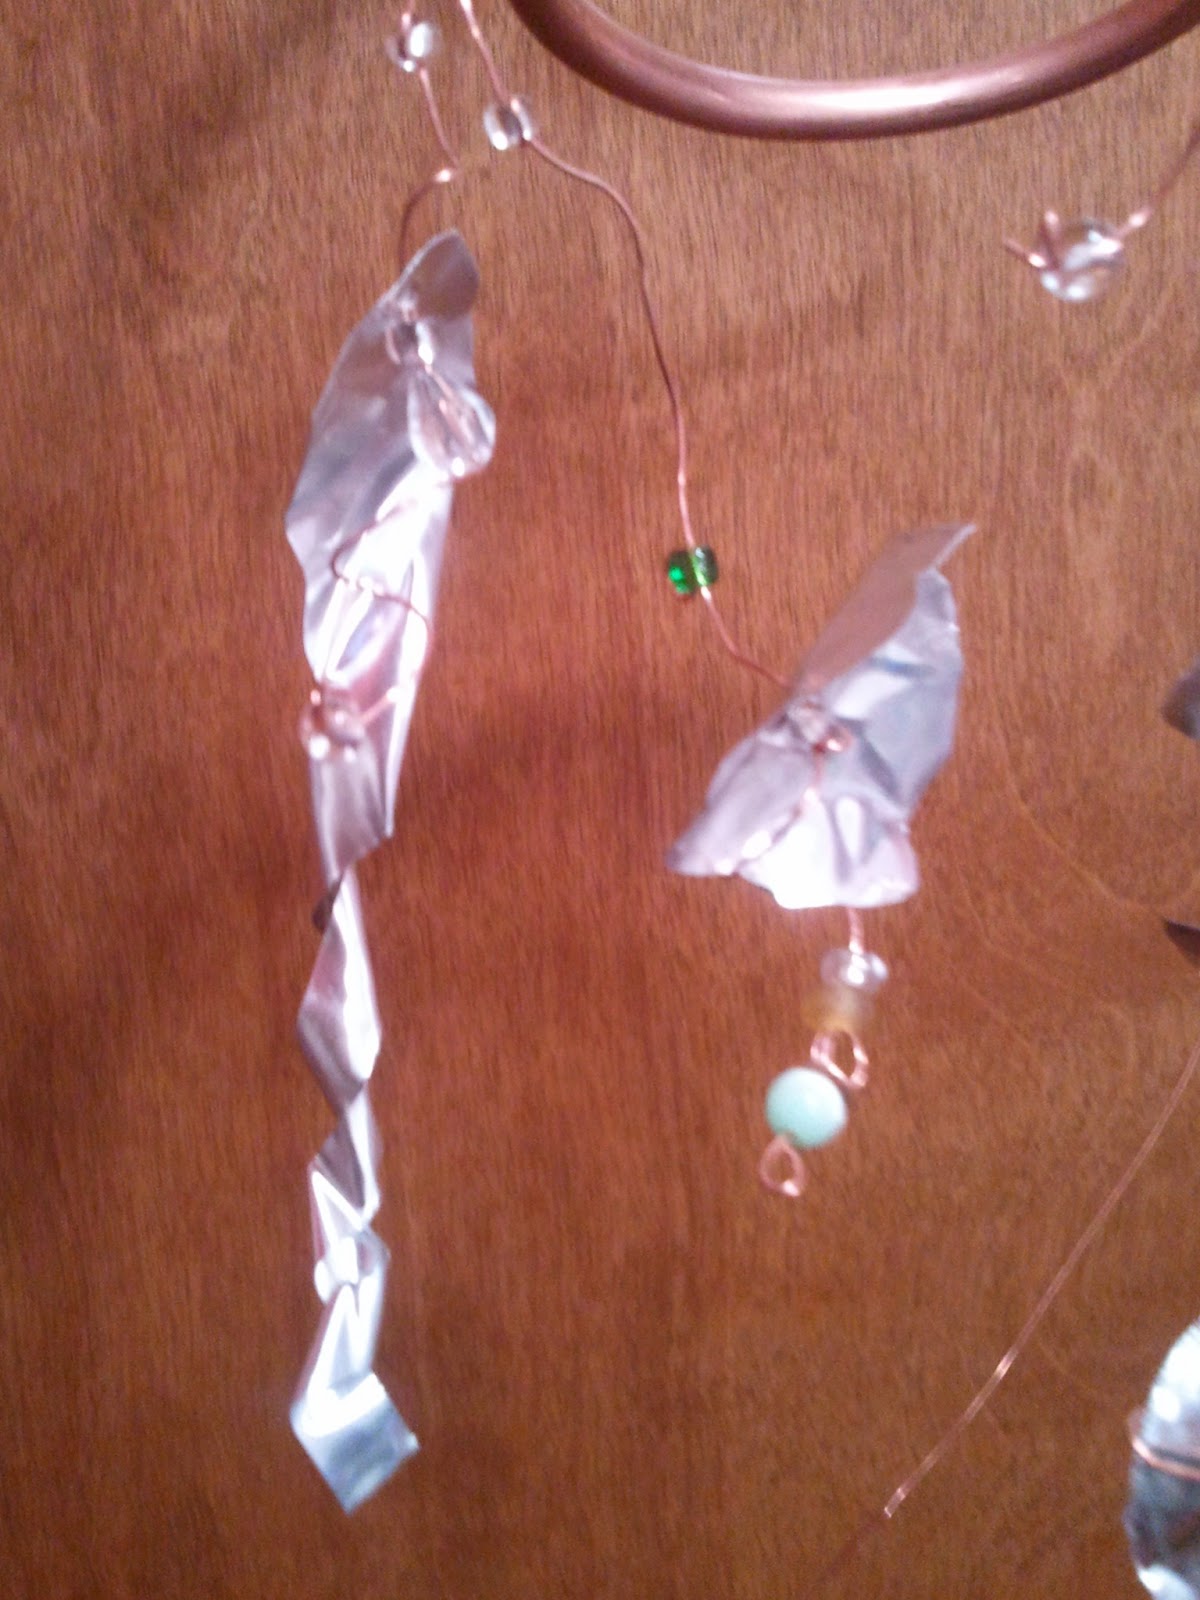
Adding the decoration of leaves cut from thin metal sheeting  hung from wire curls with beads that were inserted into the tubing then hammered flat.

Sunday, April 21, 2013

April is the time for Orioles....

This is the time of year that I teach classes and do demonstrations on constructing copper oriole bird feeders. We construct these feeders as garden art to decorate our yards and hang them filled with orange halves or custard cups full of grape jelly to give these beautiful orange feathered birds energy as the make their spring migration from Mexico. We are also selfishly hoping to feed them long enough that they make their nests in our yards so we can watch them all summer. Orioles prefer yards with deciduous shade trees, fresh water and reliably filled feeders. Besides oranges and jelly, orioles enjoy liquid nectar's similar to what hummingbirds enjoy. It is important to keep the feeders filled until at least one week after the last oriole has been seen feeding.

To make a feeder you will need 40" of 1/4" OD flexible cooper tubing like what is used for
waterlines for refrigerators. Use a hammer to flatten both ends of the tube to keep water and bugs out of the inside. Always bend the tubing slowly around something that is curved to prevent crimping of the tube. I use the outside of the custard cup that I will use as the actual feeding tray.

Begin by bend a hook so the finished feeder will hang over a tree branch or from a Sheppard's hook. Do this around the cup forming a "C" shape.
Hook for hanging

Then, from the other end wrap the tubing a few times around the cup to form a spiral, ending by turning the hanger 45 degrees (or upright) from the spiral which will hold the feeding cup. Expand the spiral. Decide where you want to position the feeding cup, allowing enough space for the bird to land and eat comfortably.

Wow, this didn't take long! No, but the next step - embellishing - is the longer process since this is where the creativity comes in.

I decorate my feeders with beads, single and grouped, strung on copper or silver wire (or any color you like) and leaf shapes, flower shapes, and spirals cut from very thin copper or silver sheeting. This sheeting is used for embossing so veins can be added to leaves with pressure from a pointed wooden stick.

Flattened end with hole for stringing wire.
Because you don't want everything "blowing in the breeze", secure segments of wire to the tubing by making a hole through the entire diameter of the tube by hammering a nail or awl through.Thread a wire through the hole and twist to secure, then string on some beads. To hold a bead along the wire, bring the wire through the bead twice. Use this process to hold a flower shape in place by securing a bead on the wire both before and after the shape. This works for the leaves too. I also wrap the wires around a pencil to form tendrils rather than keep them straight. I form tendrils from elongated triangles cut from scrapes of the sheeting which dangle quite nicely.
Metal sheeting leaves and tendril
with attached  floating beads.

Remember you want to attract the birds and the embellishments are  for our liking. Keep all the dangles away from the feeding area.

This technique can also be used to make butterfly feeders by substituting a terra cotta saucer for the custard  cup and filling it with banana slices, watermelon chunks or grape halves.
Butterfly feeder


Now locate a place in your yard to hang the feeder that is secure, were the birds are close to cover and where you can keep an eye out for the birds. Remember to clean your feeder every 2-3 days.
My thanks go out to the gals and guys that attended my classes! Some attend through Community Education Classes, some are garden club members or belong to the Red Hat groups. We just keep having fun creating and learning.
Now we are ready for Spring!

Tuesday, April 16, 2013

Art in Bloom at Milwaukee Art Museum

Once again I participated in Art in Bloom. This is where a bunch of garden club members, florist, landscapers and people that like to arrange flowers get together to compete for the best interpretation of an art work in flowers. It is anything but a cake walk. Most garden clubs and individual competitors are limited by budget and flower resources. Others, wow the crowds by using an obscene amount of material. I guess that's one of the things that make it fun. That is why I do it....for fun!

This one won people choice all 4 days
In January we meet and are given our art pieces through a lottery process. Our art museum has furniture, statues, iron work, classic and contemporary works as well as painting large and small. Each year, after some designer pushes the limits, we are given new rules to abide by. Someone did an under water design and the next year we were limited to no more than a gallon of water with none exposed. Another time someone replicated a big contemporary structure with full size haliconia and the next year we were limited to 48" high and a few inches wider than the 24" pedestal that holds each piece with nothing allowed to touch the floor.

Fun interpretation

Great idea

Seems so simple, NOT!

Everyone's favorite dog!


Another fun one


This started as a long weekend event. Now it opens on a Thursday with judging by an accredited flower show judge, an accredited judge in the florist industry and an expert from the museum. It's a crap shoot.... As you see the pieces being installed and are wowed by everyone's creativity, you just never know how it is going to go. The group of judge's select the 3 big winners and some honorable mentions. Then the public votes daily on their favorites. I think pleasing the public is great and one year I actually one that award, ha!

The BIG winner this year, creating her masterpiece
A friend of mine has won first place twice including this year. Another has won honorable mention twice (this year, too). And another won second place last year. We are all in Ikebana (Japanese flower arranging) together. That says a lot. More isn't always better.
Sometimes it's just more.


This year another student of Ikebana was trying her hand at competition.
You go girl!


Mine. How would you create a portrait from flowers?